vrijdag 31 mei 2013

WELDING THE FRAME OF THE STRAIGHT (GROUND) PART


The ground part deals with a lot of load. Therefore this part is strengthened with steel beams. Before welding all parts together, the parts need to be cut with the proper size. Holes are made so the tubes can go through. While everything is cut, bended, etc. all parts could be welded. We welded in teams of two. One welder and an assistant.


woensdag 29 mei 2013

MOLD - SANDING


After cutting all plates into the right shape and pinning them on five rods, it is time to sand the mold. We used a sanding machine and started sanding the mold. In teams we started to sand the mold to get the mold even. The mold is almost done; however between some plates a gap appeared. We need to remove those gaps, by putting the plates nearer to each other. This can be done with a hammer.
If the whole mold is finished, it can go to Baas & Bloemhof to shape the HIMACS.


HIMACS HEAT RESISTANCE


While making the mold, we found out that the mold should be as precise as possible. The HIMACS will be produced by means of thermo forming. After the process the HIMACS will be very stiff and we were not sure if we could reform it by hand. We tested with a small piece of HIMACS if it is possible to correct small adjustment. We used a paint stripper and man power to bend the HIMACS. After a few minutes of heating the material you could bend it.

Conclusion: Adjustment /corrections can be done of the shape is not precise enough.


maandag 27 mei 2013

PROTOTYPING PLAN - STEP 1


Before making the prototype, a production plan is made. After the procurement meeting it was discussed that we start with making the small corner and a straight piece. This we call step 1. If there is time left we will go on by making the rest of the prototype. If there is no time left to make everything out of HIMACS, we will make the prototype of a similar looking material, which will be easier to produce with. This way the users can experience the whole LUMO, instead of a little part. The pictures below show the whole plan.  


vrijdag 24 mei 2013

MOLD


From this moment forward we are getting started on making the prototype. The plan was already made and approved. Now it is time to make the mold, which will be used 
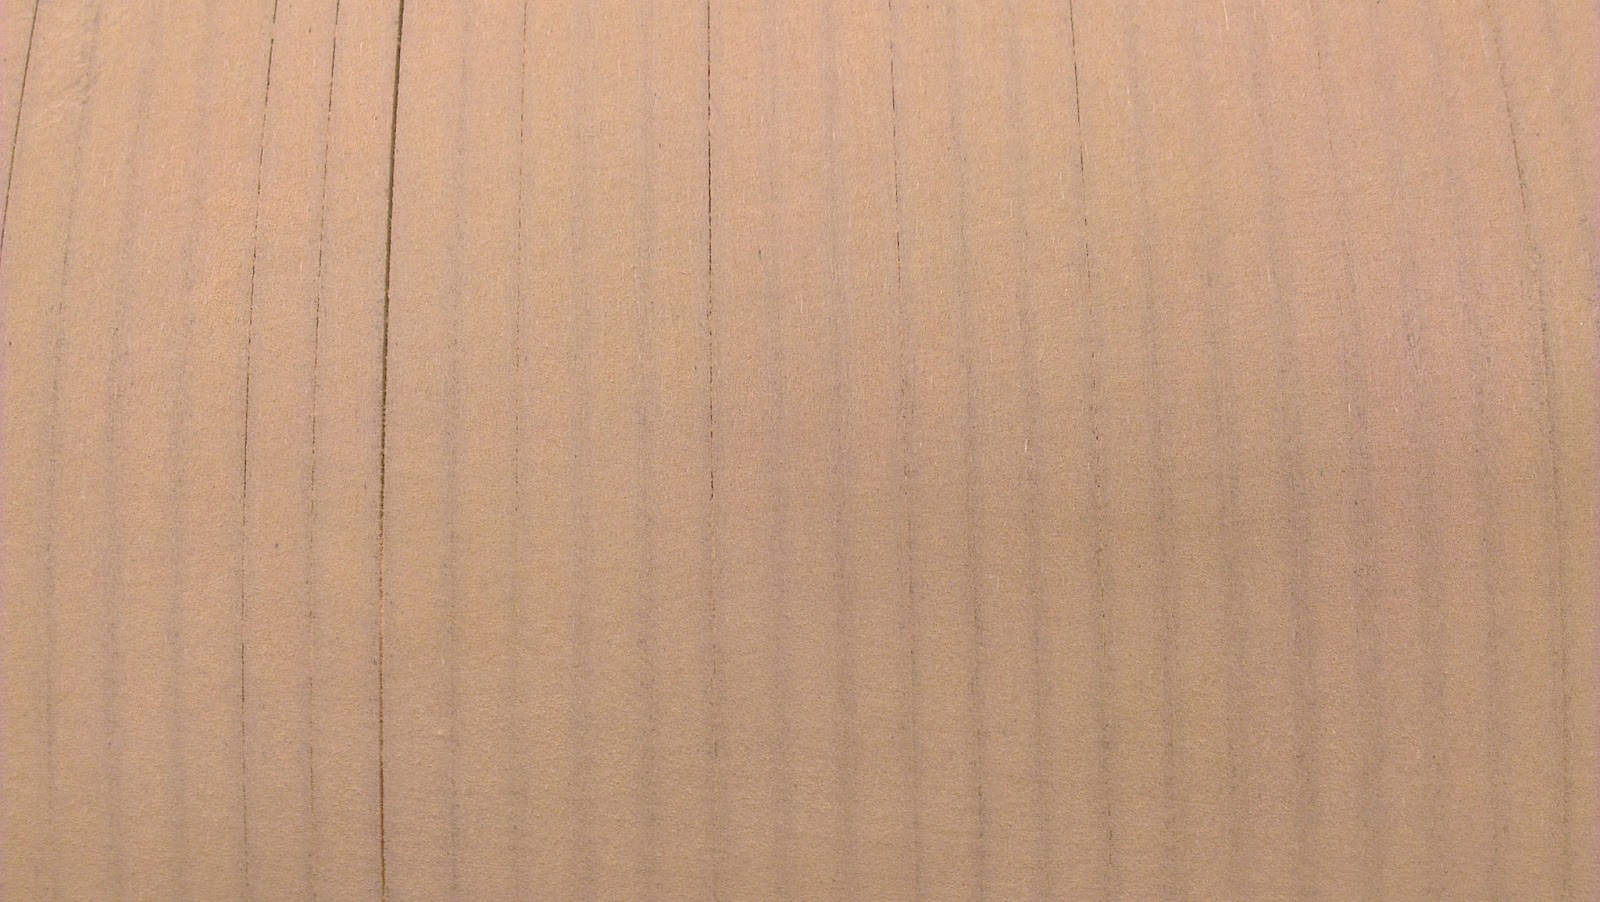
for thermoforming the HIMACS plates. First we drew, with a stencil, the shape onto the MDF 9mm sheets. By hand all shapes were cut with an electric hand saw. 
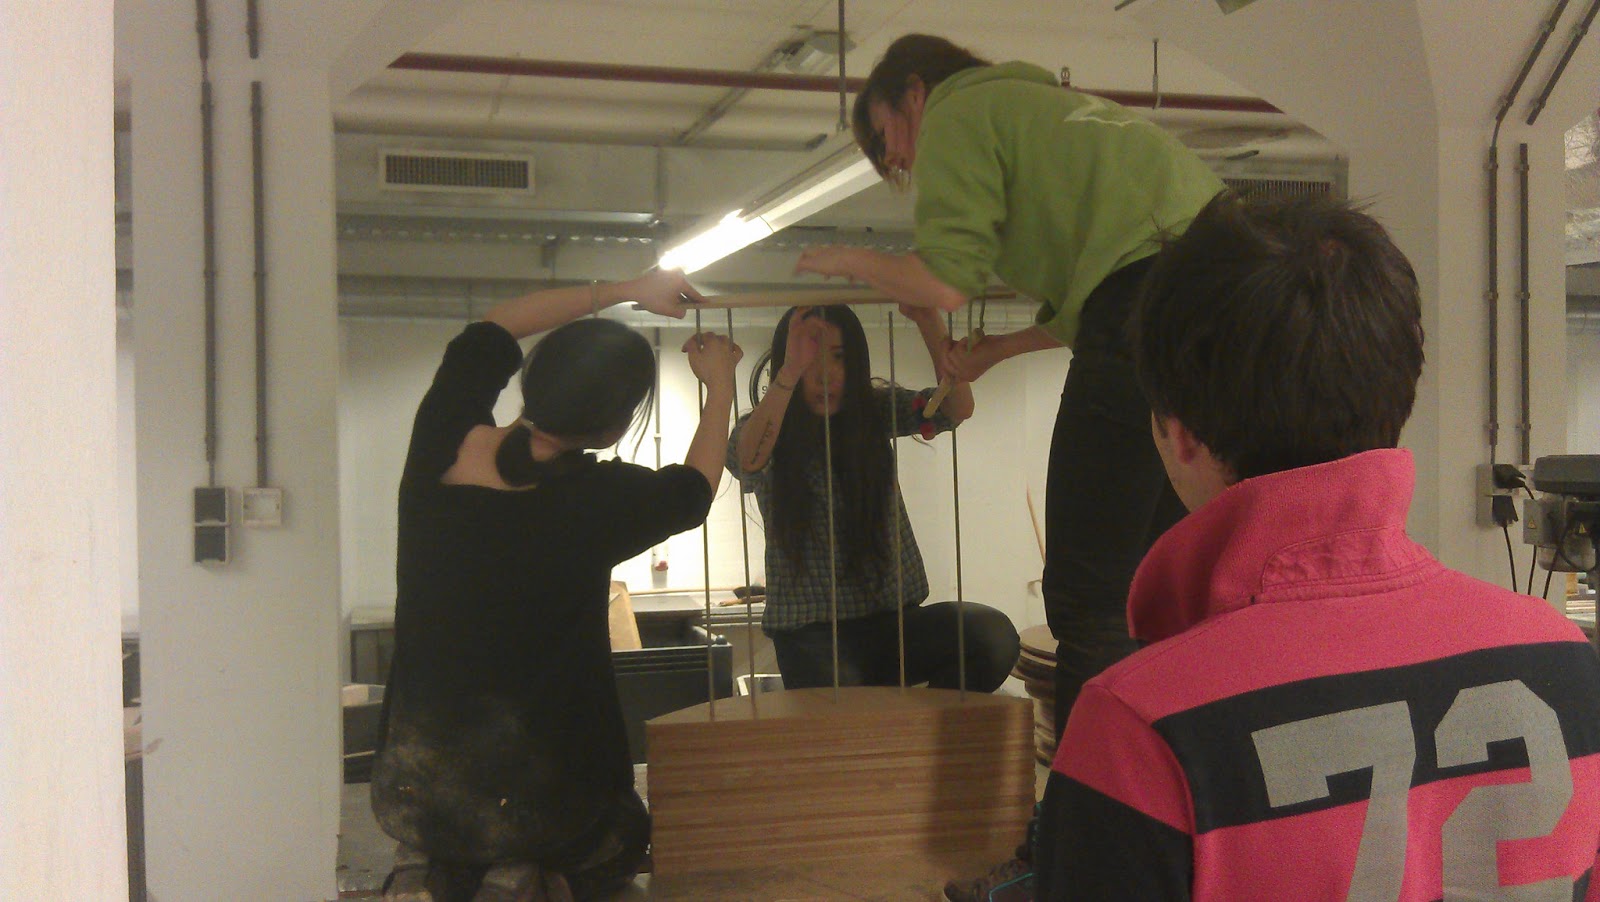
After cutting all shapes, the shapes were getting marked with 5 dots. These dots were marking to drill holes in. We used an 8.5mm drill to make the holes. Through these holes five rods were placed to keep all shapes together to get a sturdy and stiff mold. At both sides, the shape holds itself together with a ring and a bolt.
The pictures below show the previous mentioned steps. By doing it in an assembly line setup, making the mold was quite efficient.